
Documentation
ShopKing - eCommerce App with Laravel Website & Admin Panel with POS | Inventory Management
Thank you so much for purchasing our item from codecanyon.
- Version: v2.8
- Author: iNiLabs
- Created: 10 Jan, 2024
- Updated: 20 nov 2025
If you have any questions that are beyond the scope of this help file, Please feel free to email via Item Support Page.
Basic
To install, set up, and publish Shopking with your branding, it's necessary to possess fundamental knowledge in both server-side and mobile app development since the system comprises multiple features for web and mobile applications.
- IDE for Mobile and Web development, we preferred Android Studio and VSCode.
- Flutter SDK and JDK with path setup in your IDE.
- Real server Server related knowledge like apache or local machine server, we preferred to use a real server.
- Server related knowledge and we preferred cPanel in your server for quick installation
- Basic knowledge in PHP, NPM, Vue, Node, Dart, Laravel and Flutter if you want to do some customization yourself (Not compulsory).
- basic knowledge about google cloud and firebase
Note: Remember! Envato's pricing does not cover installation or app publishing support. It is your responsibility to follow the installation instructions outlined in the documentation, as well as any necessary steps for setup and branding-related changes. We are not liable for any errors you may make during the process. Additionally, any customizations you make are entirely your responsibility.
Server
Before install, please make sure you have the components bellow enable on your server
- PHP 8.2 or Greater
- MySQL 8.0 or Greater
- OpenSSL PHP Extension
- PDO PHP Extension
- Mbstring PHP Extension
- Tokenizer PHP Extension
- XML PHP Extension
- Exif PHP Extension
- Fileinfo PHP Extension
- Ctype PHP Extension
- JSON PHP Extension
- BCMath PHP Extension
- GD PHP Extension (or Imagick PHP Extension)
- PHP Zip Archive
- PHP JSON
- PHP cURL
- PHP Zip Archive
- Rewrite Module (Apache or Nginx)
- open_basedir must be disabled
Typically, these extensions are enabled by default on most servers, but it is recommended that you confirm with your hosting provider.
Please proceed with caution and take great care in completing this task. Any errors made will not be the responsibility of our team.
Active Purchase Key:
Before install, please active your envato purchase key from our system and install project by our license key
- Goto inilabs official site inilabs.net
- Now create an account in our site
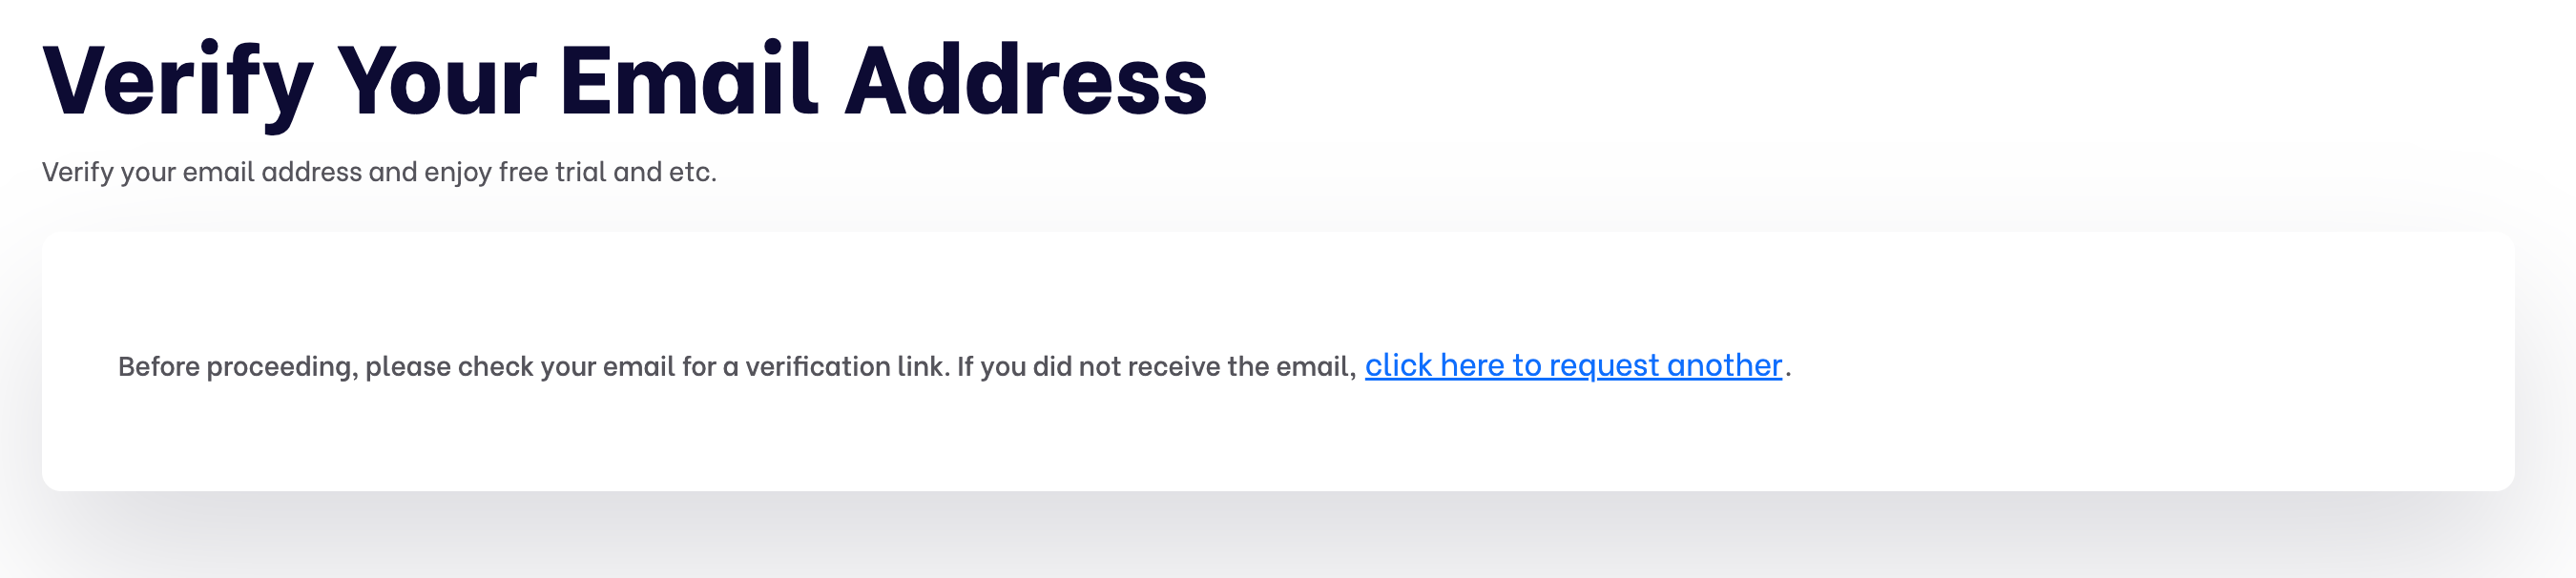
- Click the below link and verify your email
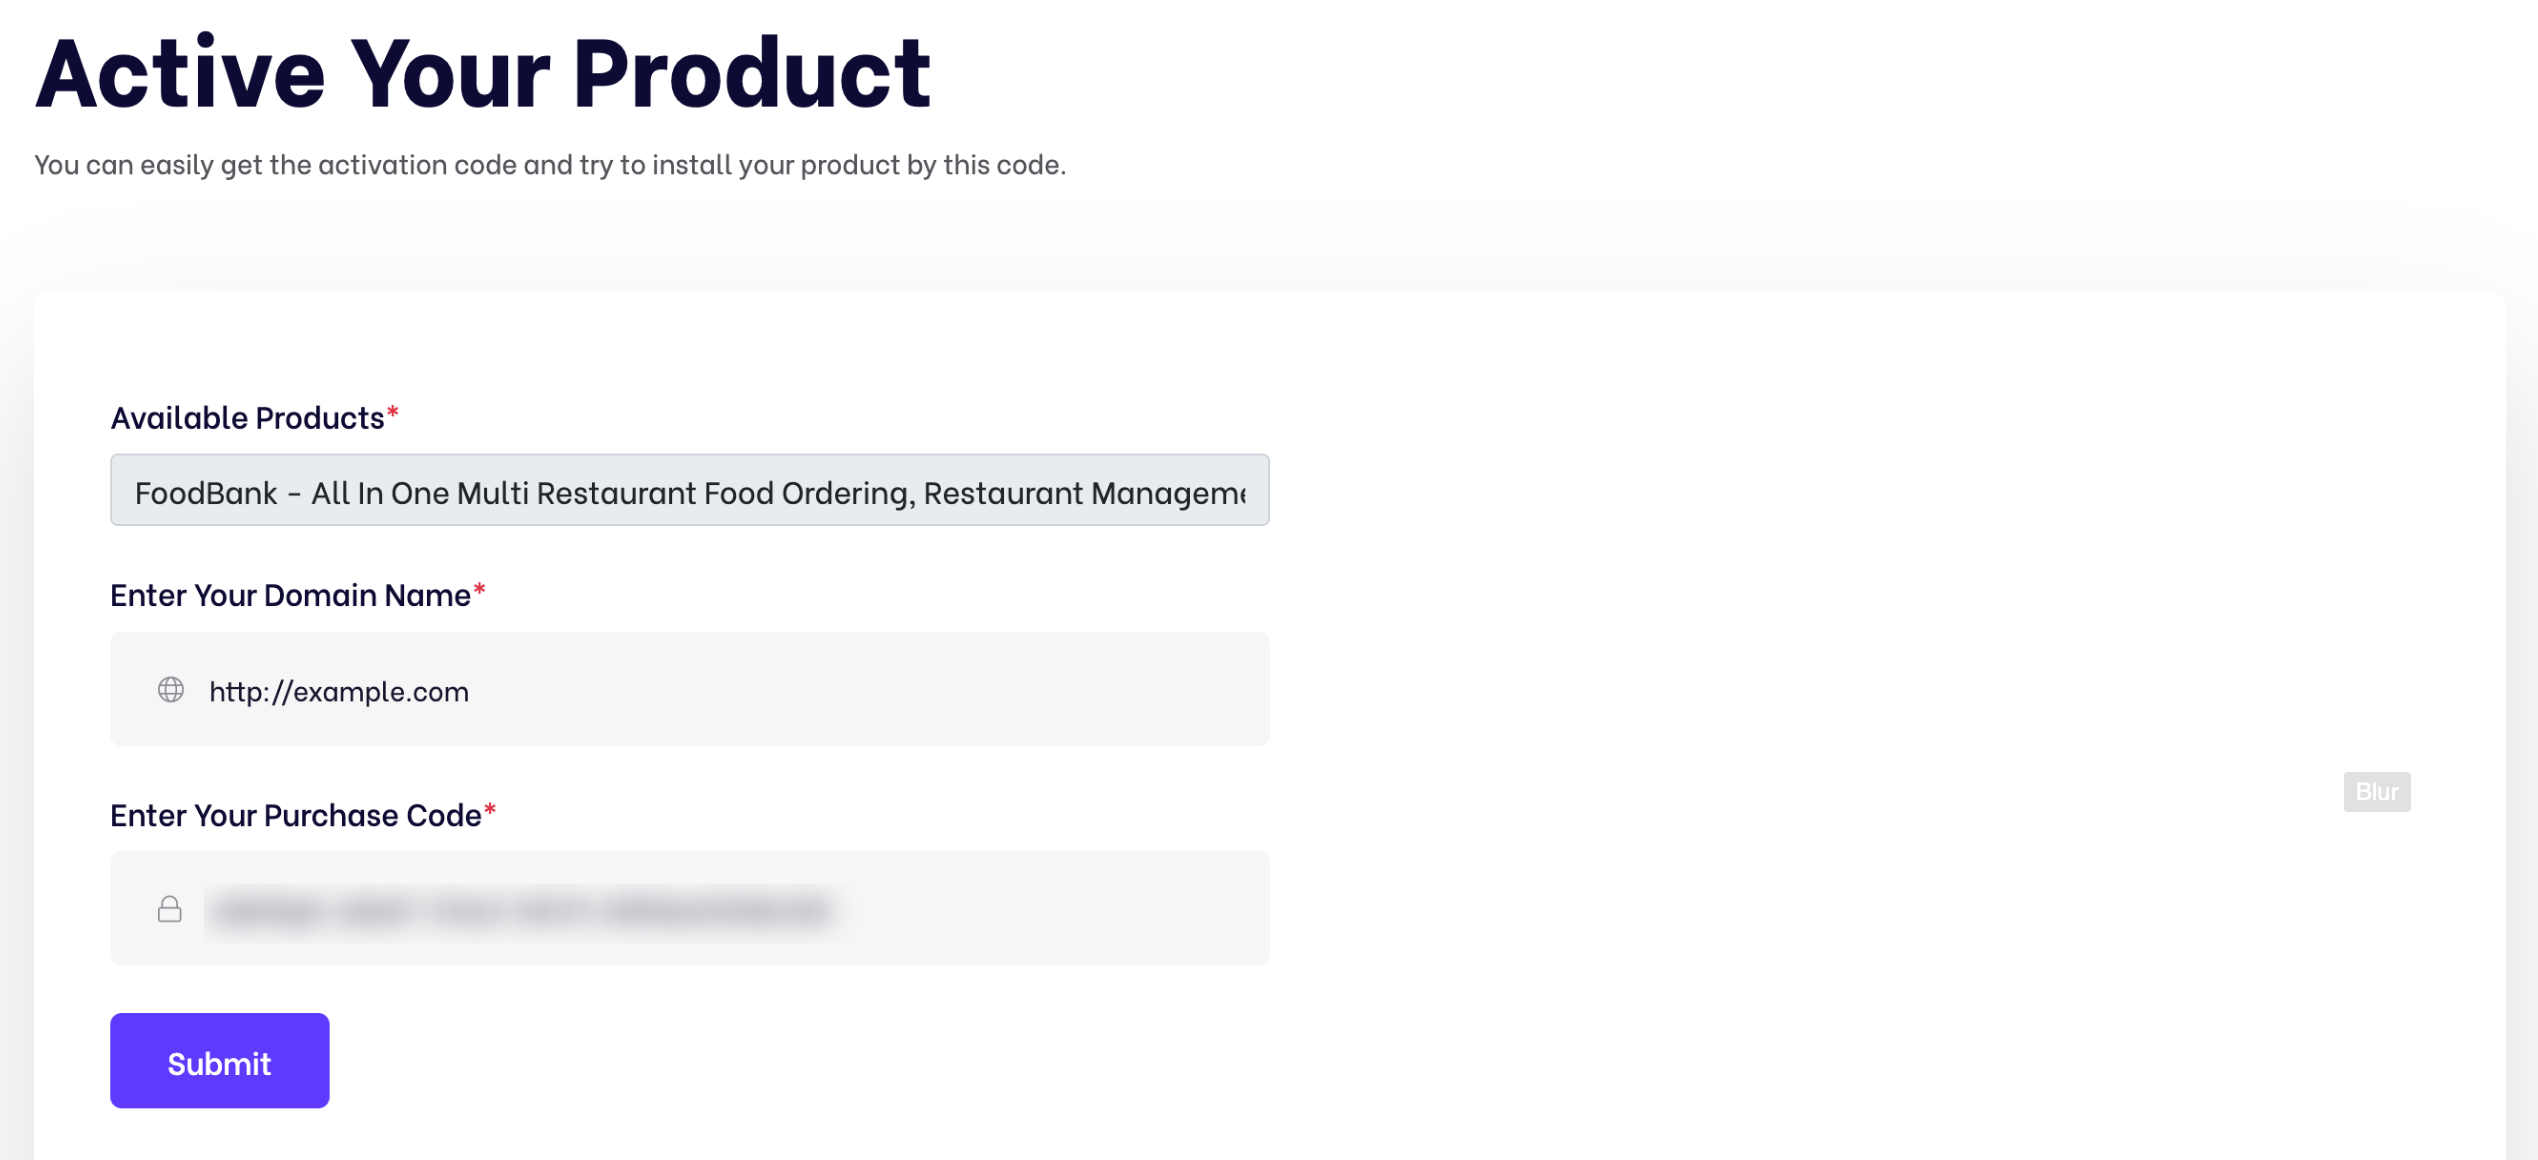
- Now click Active Purchase Key from home page and fill you information
- Select your product
- Enter your domain, Which domain you would be using this product
- Enter your envato purchase key and click submit
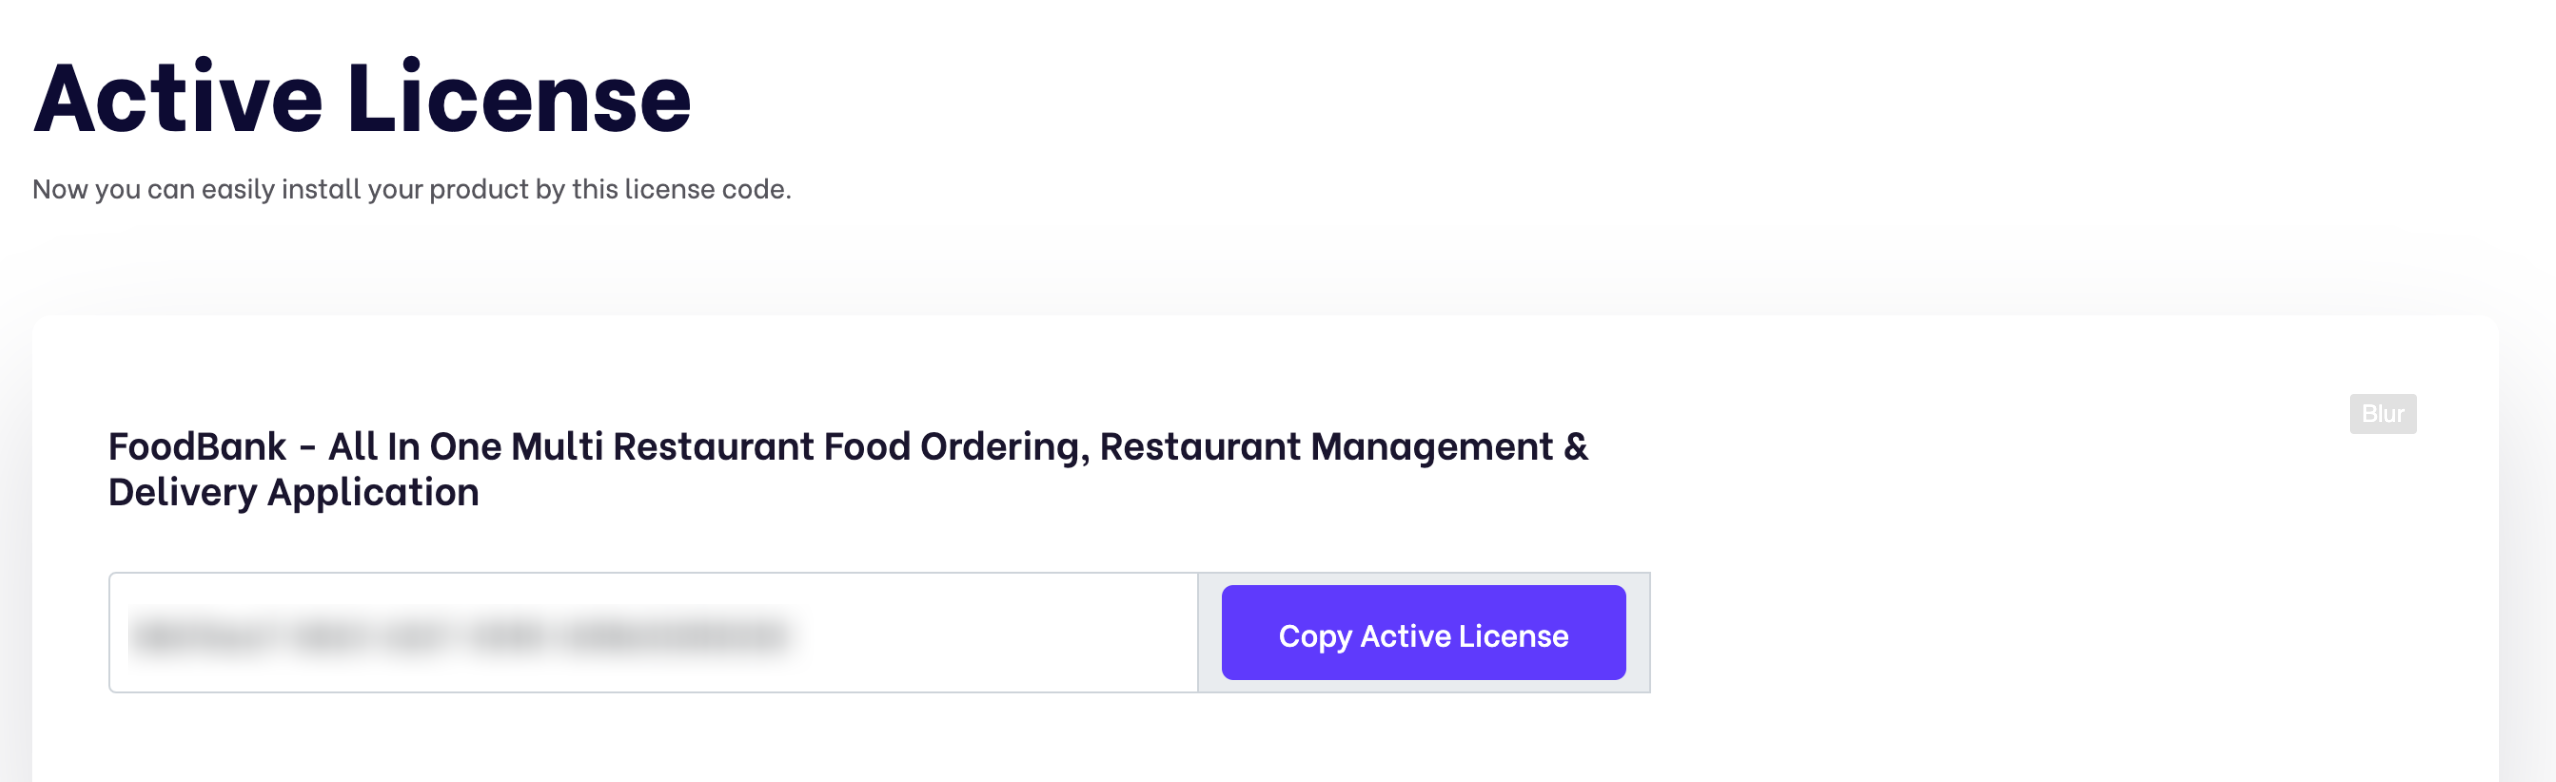
- Now copy your Active License and install the product by this license

Tips Check the video tutorial!
Mobile App
- Android studio
- Flutter SDK setup (latest version 3.24.3 Stable)
- Dart (3.5.3)
- JDK with path setup (only for vs code)
- Xcode for IPA file build
https://developer.android.com/studio?gclid=CjwKCAjwjMiiBhA4EiwAZe6jQ5FkqcdvrUO5TtFcxP6ly27gNLNJtvxEZvoLiC3JREwlZGXyQUB4zhoC3QEQAvD_BwE&gclsrc=aw.ds
Environment Setup
Flutter SDK
You can download and setup flutter from here at flutter.dev and You can follow the documentation depends on your own device and os.
Windows: https://docs.flutter.dev/get-started/install/windows
Mac: https://docs.flutter.dev/get-started/install/macos
Linux: https://docs.flutter.dev/get-started/install/linux
Tips Check the video tutorial!
Installation
Tips Check the video tutorial!
php.ini Requirements:
open_basedir must be disabled
Note: Remember! The script doesn't have any "install" folder or directory. The installation is controlled by a Controller.
Now Follow the steps below to setup the script:
- Unzip the downloaded package from here and open the /Source Code folder to find all the script zip. You will need to upload the Shopking-web.zip file to your hosting web server using FTP or localhost in order to use it install it on your website and then you need to unzip this file in your server desired location.
- Below is the folder structure and needs to be uploaded to your website or localhost root directory:
- You should upload all files.
- Now you are good to go for start the installation process from the browser
- Make sure in script folder /bootstrap and /storage folder have permission as 755 recursively.
- Manually create a database using “Phpmyadmin”.
- Run the install script path from any web browser (http://yourdomain.com/install) and click on “Check Requirements” button.
- Now you can see your php extension list if it is already installed in all extension then you can see "Check Permissions" button. Now click on this button and go to next step
- Now you will see the folders permission list if everything is ok then click “Configure Environment”
- Now Enter your Licence code which you created from iNiLabs and click on you will see the folders permission list if everything is ok then click “Configure Environment”
- Provide your database and App information like Database Host, Database Name, Database Username, and Database Password, then click “Setup Application”
- Now you will see the login information (Email : admin@example.com , Password : 123456) then click here to exit
- Good Luck!!!
Firebase Push Notification Setup
Tips Check the video tutorial!
To use firebase follow the procedure which are mentioned below
- Go to this URL to create a project https://console.firebase.google.com/u/0/. If you already have a project, continue with that.
- Then go to Project Settings and create an app.
- In Project Settings > General > "your created app", you will find apiKey, authDomain, projectId, storageBucket, messagingSenderId, appId, measurementId.
- Click on "Cloud Messaging". There you will find a button named "Generate key pair". Click it to get the KEY PAIR.
- Now in Project Settings, click "Service Account". There you will find a "Generate new private key" button. Click this button to get a JSON file.
- Then go to your "shopperz" admin Dashboard > Settings > Notification. Enter your credentials and save them.
- Now it's done.
Business Setup
Within the administrative panel, we provide a designated section known as "Settings" This particular area empowers you to configure various essential aspects of your business, such as your Company, Site, Mail, Shipping Setup, OTP, Notification, Notification Alert, Social Media, Cookies, Analytics, Theme, Sliders, Currencies, Product Categories, Product Attributes, Product Brands, Return Reasons, Suppliers, Outlets, Benefits, Units, Taxes, Pages, Role & Permissions, Languages, Sms Gateway, Payment Gateway settings.
Payment Gateway Configuration
In our initial version we are giving 19+ integrated Payment Gateways for use. Admin can setup these payment gateways from the admin panel payment settings.
SMS Gateway Configuration
We have 8 sms gateway integrated in the system which admin can setup that from admin panel -> sms settings.
How to change or customize a language?
Translate your admin and website, follow these steps:
- Login into the admin panel.
- Goto settings -> Languages.
- Click On Add Language.
- Fill all field and add new language.
- Click on the view icon of the new language low in from the list.
- Select file from the dropdown option under Files tab and click get file content.
- All the lebels and language objectives will appear in the bottom of the field.
- Now update the value of all the input fields and click save.
- You do not change any word under the curly bracket text {}, example
{name}. - When all language is changed then run some command in your terminal or ssh panel.
npm install
npm run build
Mobile Building
Run an existing flutter project on IDE
Tips Check the video tutorial!
Change App Logo
To change app logo replace at this file
- Go to
<project>assets/images/and replace app_logo.png with your own logo. - Then run this command
flutter pub run flutter_launcher_icons
Tips Check the video tutorial!
Change App Icon
To change app icon replace at this file
- Go to
<project>assets/images/and replace logo.png with your own logo.
Tips Check the video tutorial!
Change App Splash Icon
To change app splash icon replace at this file
- Go to
<project>assets/images/and replace splash_logo.png with your own splash icon.
Tips Check the video tutorial!
Change App Name
-
For Android Change the value of label from
<project>/android/app/src/main/AndroidManifest.xml/android/app/src/main/AndroidManifest.xml
android:label="My App Name" -
For IOS Change the value of CFBundleName from
<project>/iOS/Runner/info.plist/iOS/Runner/info.plist
                  <key>CFBundleName<key>
                  <string>My App Name<string>
Tips Check the video tutorial!
Setup License Key
Generate the license key from inilabs.net and copy the license key and setup in the app source code.
<project>/lib/util/api-list.dartstatic String? licenseCode = "YOUR_LICENSE_CODE";Change Base URL
To change base url replace baseUrl from
<project>/lib/util/api-list.dartstatic String? baseUrl = 'https://your_domain.com';Warning! Don’t put slash (/) at the end of your base url.
Tips Check the video tutorial!
Change App Primary Color
To change the app primary color, change the value of primaryColor with your own color hex code.
<project>/lib/util/constant.dartstatic const Color primaryColor = Color(0xffFF006B);Setup Firebase for Push Notification
First you have to change your package name. If you didn’t then follow this.
-
Create your own firebase project from https://console.firebase.google.com and also add an android app there with your own package name and app name.
Warning Do not create multiple project if you have multiple app like User App, Delivery App. Create only one project and add multiple app under project.
-
Click register app and download
google-services.jsonfile from there. -
Copy that file and paste it under
<project>/android/app/ folder. -
For IOS again create an app under same project and download
GoogleService-Info.plistand paste it under<project>/iOS/folder. Also follow this documentation for full setup for IOS: https://firebase.flutter.dev/docs/messaging/apple-integration
Tips Check the video tutorial!
App build & release
Build for Android
For debug app build you can run this command:
flutter build apk --no-tree-shake-icons
Build file location: <project>/build/app/outputs/flutter-apk/
For deploying it please follow this documentation: https://docs.flutter.dev/deployment/android
Build for iOS
There are no general way to generate app for iOS. Apple doesn’t allow to install app like this debug way. If you want to install it on your iOS device then you have to deploy it on TestFlight or AppStore. For deploying it please follow this documentation: https://docs.flutter.dev/deployment/ios
Addon Installation
Right Now We do not have any addons with the script:
Support
If this documentation doesn't answer your questions, So, Please send us Email via Item Support Page
We are located in GMT +6:30 time zone and we answer all questions within 12-24 hours in weekdays. In some rare cases the waiting time can be to 48 hours. (except holiday seasons which might take longer).
Don’t forget to Rate this script
Go to your Codecanyon Profile > Downloads Tab > & then You can Rate & Review for our script.
Thank You.
Changelog
Version 2.8(20 nov 2025)
- Laravel framework upgraded to version 12
- Role & Permission bug fixed
Version 2.7(27 Oct 2025)
- Added Myfatoorah payment gateway
- Added Easypaisa payment gateway
- Added interactive click support on product cards
- Pos receipt minor bug fix
- Location setup minor bug fix
- Product filter responsive minor bug fix
- Customer app latest version update (flutter: 3.35.7, Dart: 3.9.2)
Version 2.6(11 Sep 2025)
- Pages module minor bug fix.
- Image viewer feature for review & return & refund order.
- Others minor bug fix.
- App UI Improvement.
- App performance optimization.
Version 2.5(23 Jul 2025)
- PhonePe payment gateway api update.
- Minor bug fix.
- Customer app latest version update (flutter: 3.32.7, Dart: 3.8.1)
Version 2.3(11 Sep 2025)
- POS module minor bug fix.
Version 2.6(11 Sep 2025)
- Pages module minor bug fix.
- Image viewer feature for review & return & refund order.
- Others minor bug fix.
- App UI Improvement.
- App performance optimization.
Version 2.5(23 Jul 2025)
- PhonePe payment gateway api update.
- Minor bug fix.
- Customer app latest version update (flutter: 3.32.7, Dart: 3.8.1)
Version 2.4(24 June 2025)
- Added reviews module in admin panel
- Login process performance improved
- Msg91 SMS gateway minor bug fix
- Push notification minor bug fix
- Midtrans payment gateway minor bug fix
Version 2.3(15 May 2025)
- Performance optimization
- Loading minor bug fix
- Language minor bug fix
- Country, City, State minor bug fix
- Compatible with Flutter SDK 3.29.3.
Version 2.2(17 April 2025)
- Payfast payment gateway minor bug fix.
- Outlet phone number minor bug fix.
- Added cross icon on the search bar to clear input.
- Wishlist now updates instantly when removing products.
- Enhanced validation messages for better clarity.
- Stylish image displayed when the table is empty.
- Enhanced styling for the date input field.
- Added button to deactivate offers.
- POS calculator minor bug fix.
- Customer app compatible with Flutter SDK 3.29.2
Version 2.1(10 Mar 2025)
- Added 2checkout payment gateway.
- Added payment method in POS.
- Added new customer add option from POS.
- Added POS calculator.
- Performance optimized.
- Project minor bug fix.
Version 2.0 (12 January, 2025)
- Added barcode scan feature in pos
- Customer app latest version update (flutter 3.27.1, dart 3.6.0)
- Customer app minor bug fix
- Cashfree payment gateway API update
- Midtrans payment gateway minor bug fix
- Pesapal payment gateway minor bug fix
- MSG91 sms gateway minor bug fix
- Area wise shipping charge calculation minor bug fix
Version 1.9 (18 Nov, 2024)
- Summary of sales and Product report
- PDF download feature in reports
- Payment options in pos order
- Pos discount minor bug fix
- Stripe minor bug fix
- Customer app compatible with Flutter SDK 3.24.5
Version 1.8 (02 Oct, 2024)
- Product import feature added
- Product category export & import feature added
- Price filter responsive minor bug fix
- Return product minor bug fix
- Responsive minor bug fix
- Coupon remove minor bug fix
- Customer app compatible with Flutter SDK 3.24.3
Version 1.7 (19 Aug, 2024)
- Customer app latest version update (flutter 3.24.0, dart 3.5.0)
- Added midtrans payment gateway
- Cart minor bug fix
- Notification minor bug fix
- Responsive minor bug fix
- Coupon minor bug fix
Version 1.6 (18 Jul, 2024)
- Customer app latest version update (flutter 3.22.2, dart 3.4.3)
- App Promotion Module minor bug fix
- App Shipping Charge calculation minor bug fix
- App Category Section loading issue fix
- App UI related minor bug fix
- App Performance optimization
- Added Pesapal Payment gateway
- Firebase push notification update
- Tax name show in invoice
- Pos filter minor bug fix
- RTL minor bug fix
Version 1.5 (10 Jun, 2024)
- Customer app latest version update (flutter 3.22.1, dart 3.4.1)
- Added Iyzico Payment gateway
- Added Telr Payment gateway
- Bkash Payment Gateway minor bugs fix
- Cart minor bugs fix
Version 1.4 (22 May, 2024)
- Customer app latest version update (flutter 3.22.0, dart 3.4.0)
- Customer app minor bug fix
- Made seo friendly URL
- Frontend minor bug fix
- Online order minor bug fix
- Pos order minor bug fix
Version 1.3 (25 Apr, 2024)
- improved application performance significantly
- location setup functionality added
- product category minor bug fix
- authentication minor bug fix
- razorpay minor bug fix
Version 1.2 (14 Mar, 2024)
- Performance related minor bug fix
- Authentication minor bug fix
- Email sending minor bug fix
- Language minor bug fix
- Bkash Payment gateway minor bug fix
- Country code minor bug fix
- Product review minor bug fix
Version 1.1 (03 Feb, 2024)
- Installer bug fix
- Language minor bug fixed
- POS minor bug fix
- Purchase minor design fix
- Damage minor design fix
- MSG91 minor bug fix
- Tax minor bug fix
- Product report minor design fix
- Customer app improved
Version 1.0 (11 Jan, 2024)
- Initial Release
How to get latest version and How to update Your Current Version to New Version?
Download latest version from here or if you want us to upgrade your current system then you can take one of our premium support plan from here